Compared to commercial vehicles, connecting to off-highway equipment can be tricky. Continue reading to learn how to locate the diagnostic port and select the correct cable.
Selecting the Correct Cable
First, select the correct cable based on the make and model of equipment you’re working on. To help determine which cable to use, check the OE’s specifications or visit our Cable Reference Guide.
Locate the Diagnostic Port
Next, you’ll want to locate the diagnostic port. Please note that this port on off-highway equipment is not standardized like it is for on-highway vehicles. Not all equipment will have connection ports in the same location. Some may have ports in the lower right corner, upper left corner, behind the seat, or nearly anywhere in between.
Diagnostic Port Locator
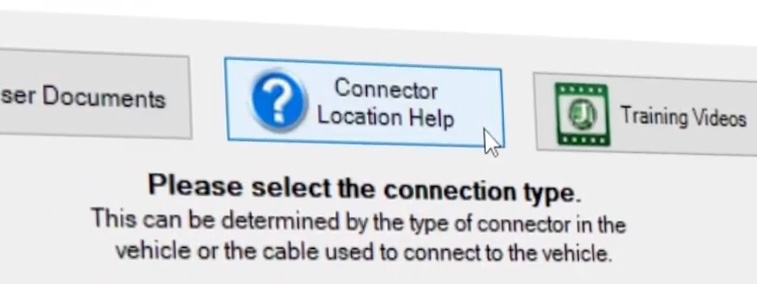
To make the connection process easier, JPRO provides users with a helpful document to follow. This can be found on the connection screen in JPRO by clicking the Connector Location Help button.
Once you locate the diagnostic port, you’ll follow the same steps as connecting to a commercial vehicle.
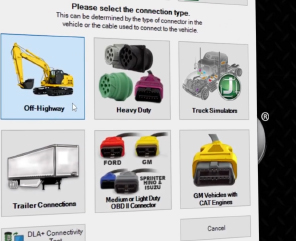
With the adapter securely connected to the equipment and laptop, you can initiate the connection in JPRO by selecting the Off-Highway option from the connection screen.
Tip: If your off-highway vehicle has a 9-pin or a 6-pin connector, still select the off-highway option from the connection screen instead of the heavy-duty button.

Connection Status
Similar to a commercial vehicle, the connection time is typically around one minute, and you’ll know it’s complete by the status bar in the top left corner. After the connection has been made, the Component Roll Call, Fault Code Information, and Key Data Points windows are displayed.

